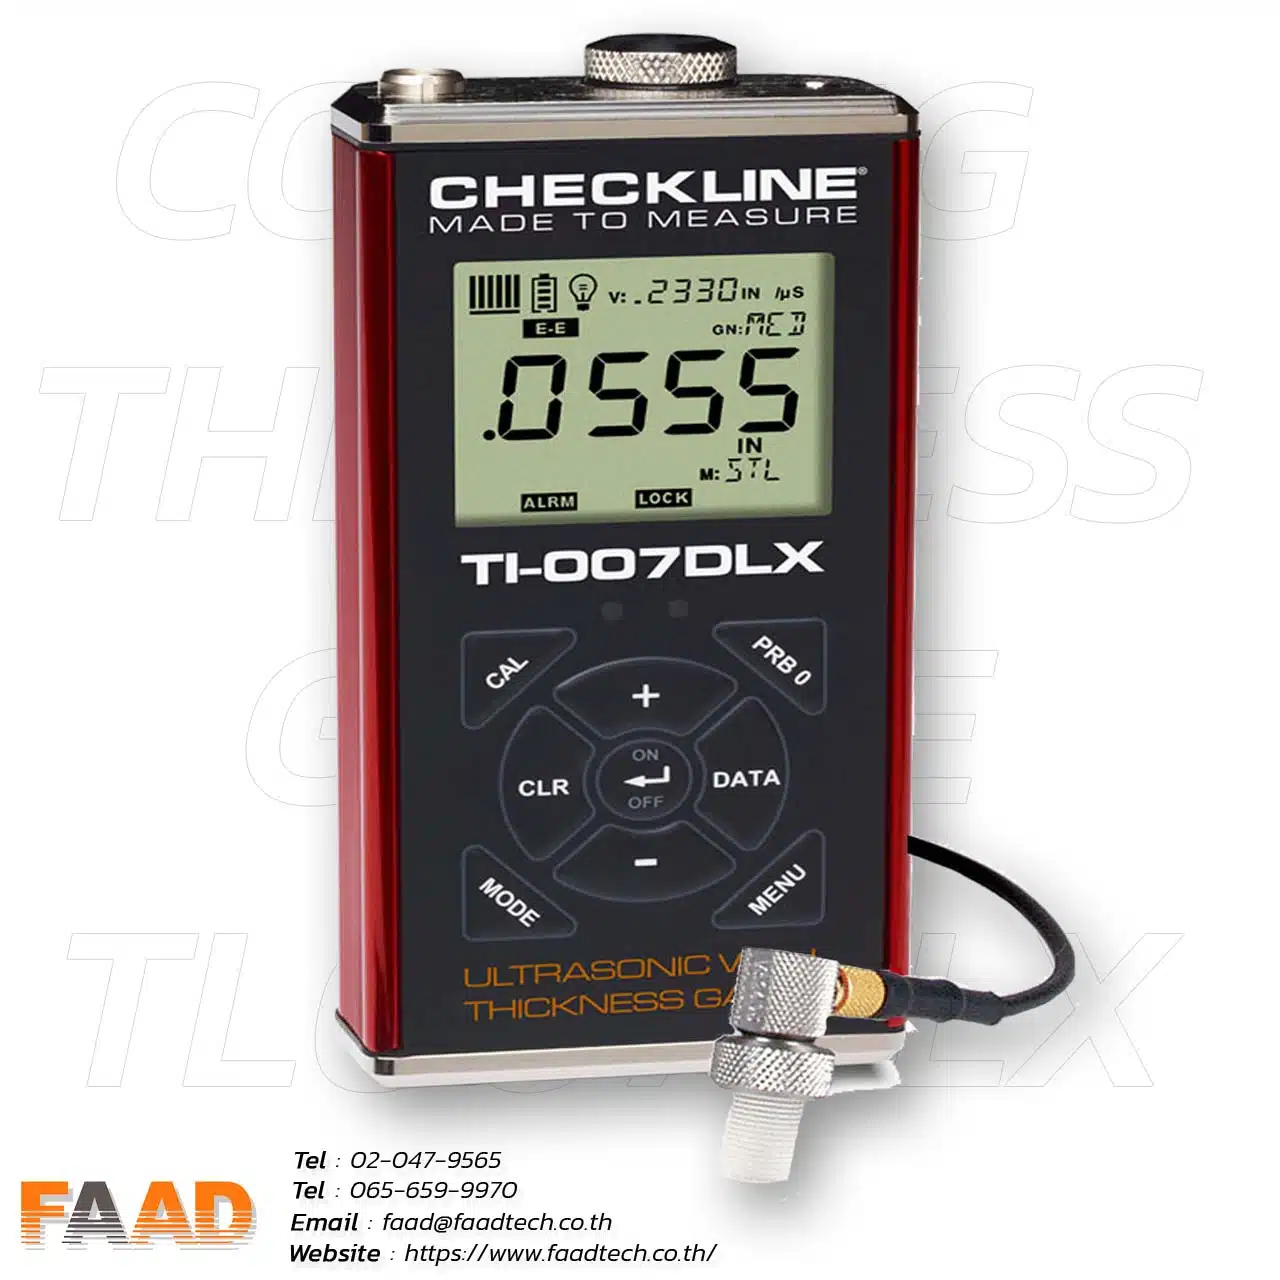
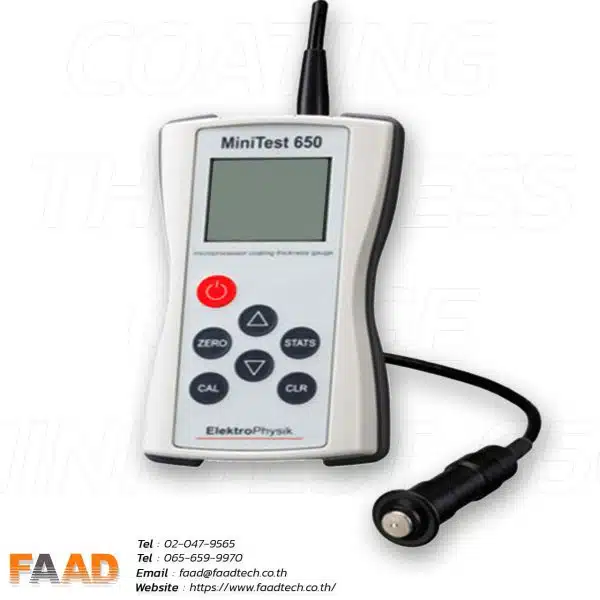
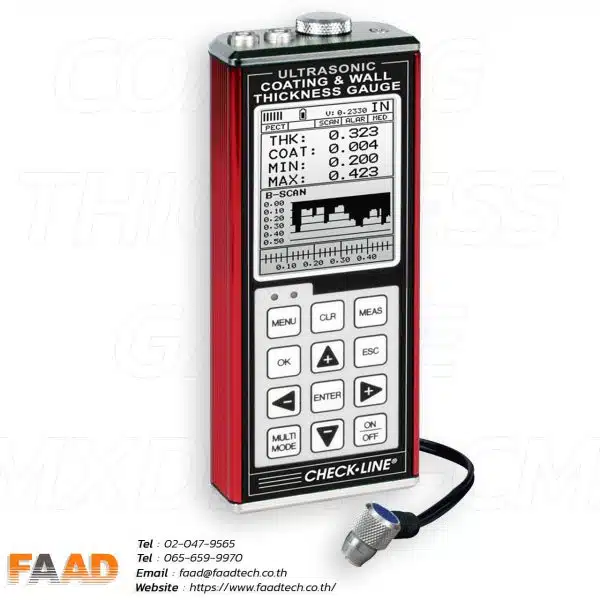
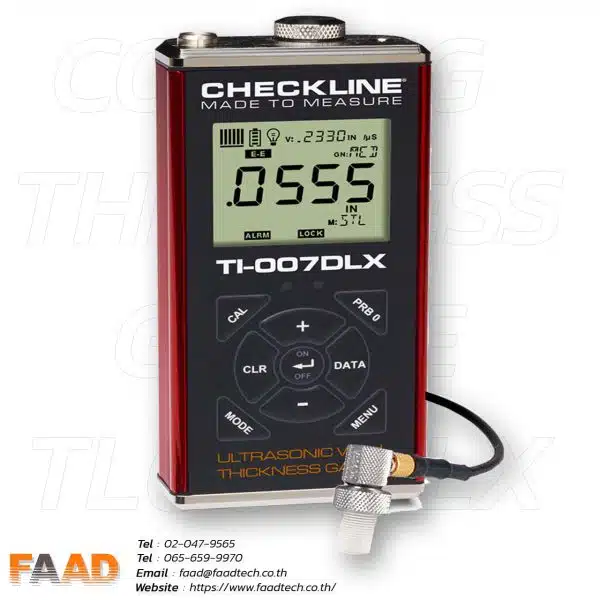
Ultrasonic Wall Thickness Gauge | TI-007DLX
Range with Standard Delay Line Transducer
0.0060″ – 1.000″ / 0.150 – 25.40 mm
Range with Contact Transducers
up to 36.00″ / 915.0 mm
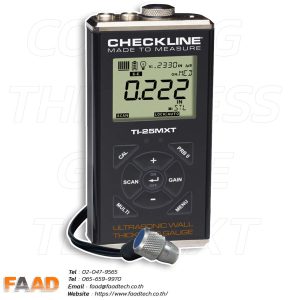
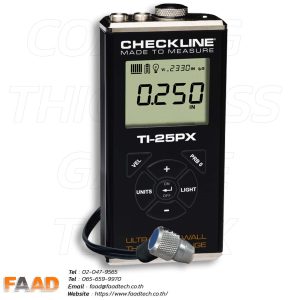
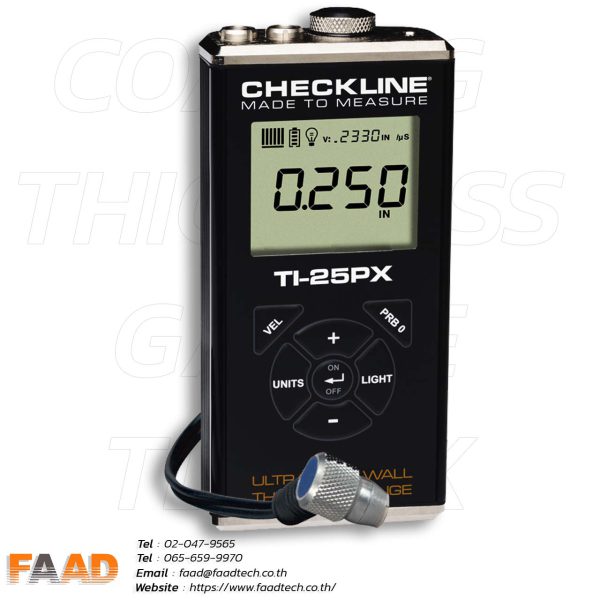
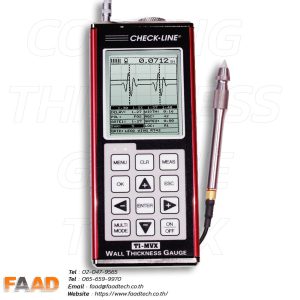
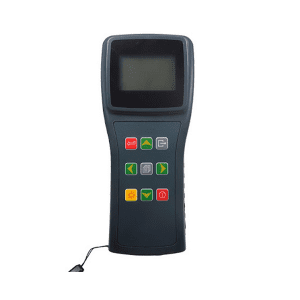
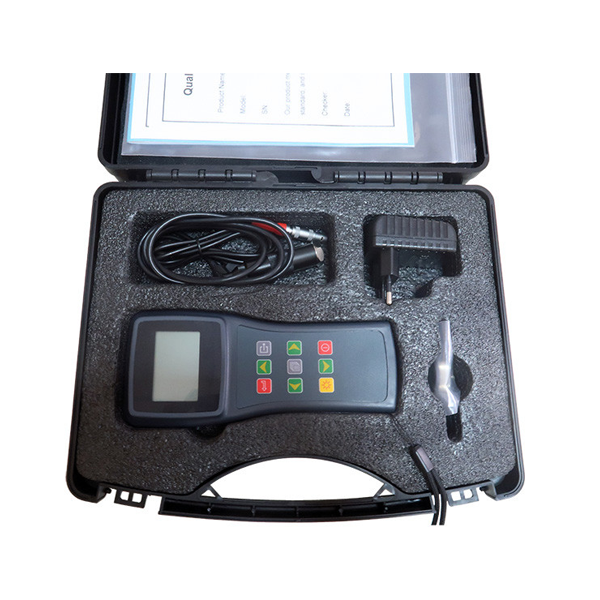
The TI-007DLX is a precision ultrasonic wall thickness gauge designed for high-resolution measurements on thin-wall metal and plastics. It is packaged in a sturdy extruded aluminum housing which is sealed for excellent environmental protection assuring trouble-free use even in the toughest field and production environments.
The built-in datalogger has a capacity of 10,000 data values stored in up to 40 batches with 250 values/batch which is transferred via the USB port using the supplied cable. The TI-007DLX does not require any software, it will be shown as a drive when connected to a PC allowing convenient drag-n-drop into your program of choice. Data is saved in a comma deliminated file format (.csv) which makes it compatible with all programs and software.
The TI-007DLX has measuring range in steel from 0.0060 to 1.0000 inch, (0.15 to 25.40 mm). Using a single element delay tip transducer, the gauges will measure thin materials and automatically remove any coatings in Echo-Echo Mode (E-E) as well as automatically switch to Interface Echo Mode (I-E)when measuring thicker materials, For measurement of plastics, the user would select Plastic Mode (PLAS) and use the option Graphite Delay Line Tip (p/n X-633-0000).
Additional Measuring Modes include Differential (DIFF) where a user sets a “nominal value” and the gauge displays the ± difference between then nominal and actual wall thickness, Alarm (user-set Hi/Low Limits) trigger Hi/Lo LED’s when the measured values are out of tolerance and Velocity Mode
Features
- Includes NIST Traceable Calibration Certificate
- Large, backlit LCD display retains last reading
- Resolution of 0.0001 inch (0.001 mm) with Selectable units of inch or mm
- Built-in datalogging for 10,000 data values stored in up to 40 batches with 250 values/batch with USB Output
- Scan mode, 100 readings/sec. Probe is slid over a large measuring area, the minimum thickness during the “scan” will be displayed
- Adjustable GAIN (AGC) in 5 steps to fine tune the gauge for use on challenging materials or applications
- Can be used with both Single Element Delay Line and contact transducers (5 to 20MHz)
- LCD shows Thickness Value, Velocity Setting, Gain Setting, Stability & Battery Indicators, Scan Mode, Zero and units
- Operates on two (2) AA Batteries – 45 hours continuous operation
- Calibrate to a sample of known thickness which automatically calculates the optimal acoustic velocity
- Powered by: 120MHz FPGA timing & 100 volt spike pulser
- Measure Modes: Pulse-Echo (P-E), Echo-Echo (E-E), Interface Echo (I-E) and Plastics (PLAS)
- Additional Modes Include Differential (from user-entered “nominal value”), Alarm (user-set Hi/Low Limits) and Velocity Mode
- Optional serial RS-232 or Bluetooth output
- IP 65 Rated for protection even in the toughest field conditions
- CE-Certified
Delay Line Tips for TI-007DLX
| P/N | Description | Standard / Optional | Image |
| F-000-7102 | 1/4″ x 3/8″ for all metals (Short) | Standard |  |
| F-000-7103 | 1/4″ x 1/2″ for all metals (Long) | Standard |  |
| X-633-0000 | 1/4″ x 3/8″ Graphite Tip for thin plastics (Graphite Short) | OPTIONAL |  |
Specifications
| Range with Standard Probe | 0.0060-1.0000″ (0.15-25.40 mm) with standard delay line transducer in steel |
| Resolution | 0.0001″ (0.001 mm) . 0.001″ (0.01 mm), user-selected units and resolution |
| Display | Multi-function 7 segment 4.5 digit liquid crystal display with Back-light |
| Velocity Range | 0.0120 to .7300 in/μs (305 to 18,542 m/sec) |
| Display Backlight | Backlight is selectable on/off/auto, and selectable brightness (Lo, Med, Hi) options |
| Output Optional | RS-232 and Bluetooth |
| Cable | 4 ft. (1.2 m) with Microdot/Lemo00 connector. |
| Output | USB single value only (no internal memory)TI-007DLX for a model with build-in memory for 40,000 values USB output |
| Operating Temperature | -22 to 167F (-30 to 75C) |
| Housing Protection | IP65 |
| Battery Life | Typically operates for 35 hours on alkaline and 18 hours on NiCad |
| Weight | 11 ounces (308 grams) |
| Dimensions | 2.5 x 5.17 x 1.25″ (64 x 131 x 32 mm) |
| Warranty | Gauge: 5 Years Probes: 90 Days |
| Total Measuring Range (Steel) | 0.006 – 36.000 inches 0.15 – 924 mm (depends on material and transducer/probe type) |
| Measuring Modes | Pulse-Echo (P-E), Echo-Echo (E-E), Interface Echo (I-E) and Plastics (PLAS), Differential, Alarm, Scan and Velocity (VX) |
| Gain | Automatic time dependent gain (TDG) with manual override |
| Probe (Standard) | 1/4″ diameter, 15 MHz delay line transducer with cable (p/n T-402-5507) |
| Probes (optional) | Various Single Element Delay Line and Contact Transducers (5 to 20MHz) |
| Display Update Rate | 10 Hz (10 updates/sec) |
| Battery Type | 2x AA 1.5V alkaline, 1.2V NiCad, or 1.5V lithium AA cells (rechargeable batteries can be used) |
| Housing | Extruded aluminum body with nickel-plated aluminum end caps (gasket sealed) |
| Certifications | NIST Traceable and MIL-STD-45662A |
| Keypad | Sealed membrane that is resistant to both water and petroleum products Seven or eight tactile-feedback keys |
| Pulse Repetition Frequency (PRF) | 200 Hz (200 pulses/sec) |
| To Lock Settings | With gauge powered off, press and hold the “+” key while powering on the gauge The LOCK icon will be illuminated on the Display |
| To unLock Settings | With gauge powered off, press and hold the “-” key while powering on the gauge The LOCK icon will turn off |










Read Our Latest News
News & Articles
- By Admin Faadtech
- Comments are off for this post.
- By Admin Faadtech
- Comments are off for this post.


