ROUND AND ROUND WE GO
Circular Flatness Measurement
This application uses a laser plane as reference. The deviation in distance between the laser plane and the measurement object is measured in one or more positions with the use of the receiver. The program allows for up to three circles with 99 points in each circle to be measured.
A typical application is the measurement of flanges and circular machine foundations.
How to do a circular flatness measurement
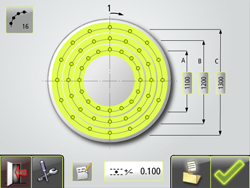
1. Configuration
Quick and easy to configure
Pre-defined configuration
2. Measurement
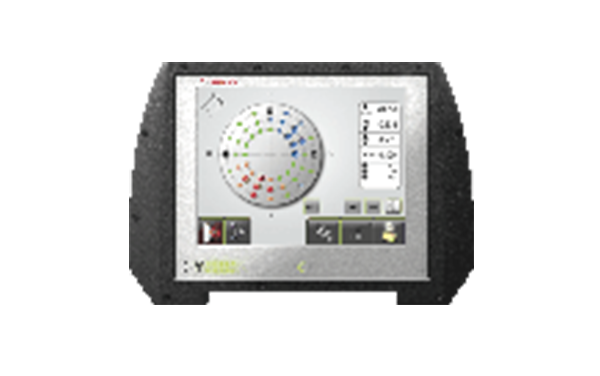
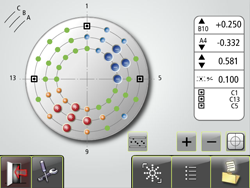
Distinct overall view of the measurement
Instant display of measurement object’s position
Color-coded measurement points
Measurement points can be registered in any order you prefer
3. Adjustment
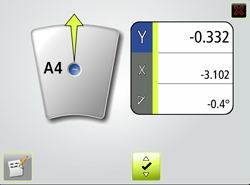
Live values during the adjustment phase
The angle guide displays the accepted (green) measurement point registration area
Green arrows show you in which direction to adjust towards zero
Color-coded measurement values











Read Our Latest News
News & Articles
- By Admin Faadtech
- Comments are off for this post.
- By Admin Faadtech
- Comments are off for this post.


