
ACOEM : Laser shaft alignment AT400
Laser shaft alignment AT400
Maximize machinery performance with our 2-axis shaft alignment tool. Achieve precise alignment, minimize vibration, and extend equipment lifespan
- Unleash productivity and efficiency with advanced sensors and precise 2-axis measurement, delivering superior results across diverse applications.
- Intuitive and user-friendly interface for simplified navigation and an enhanced user experience.
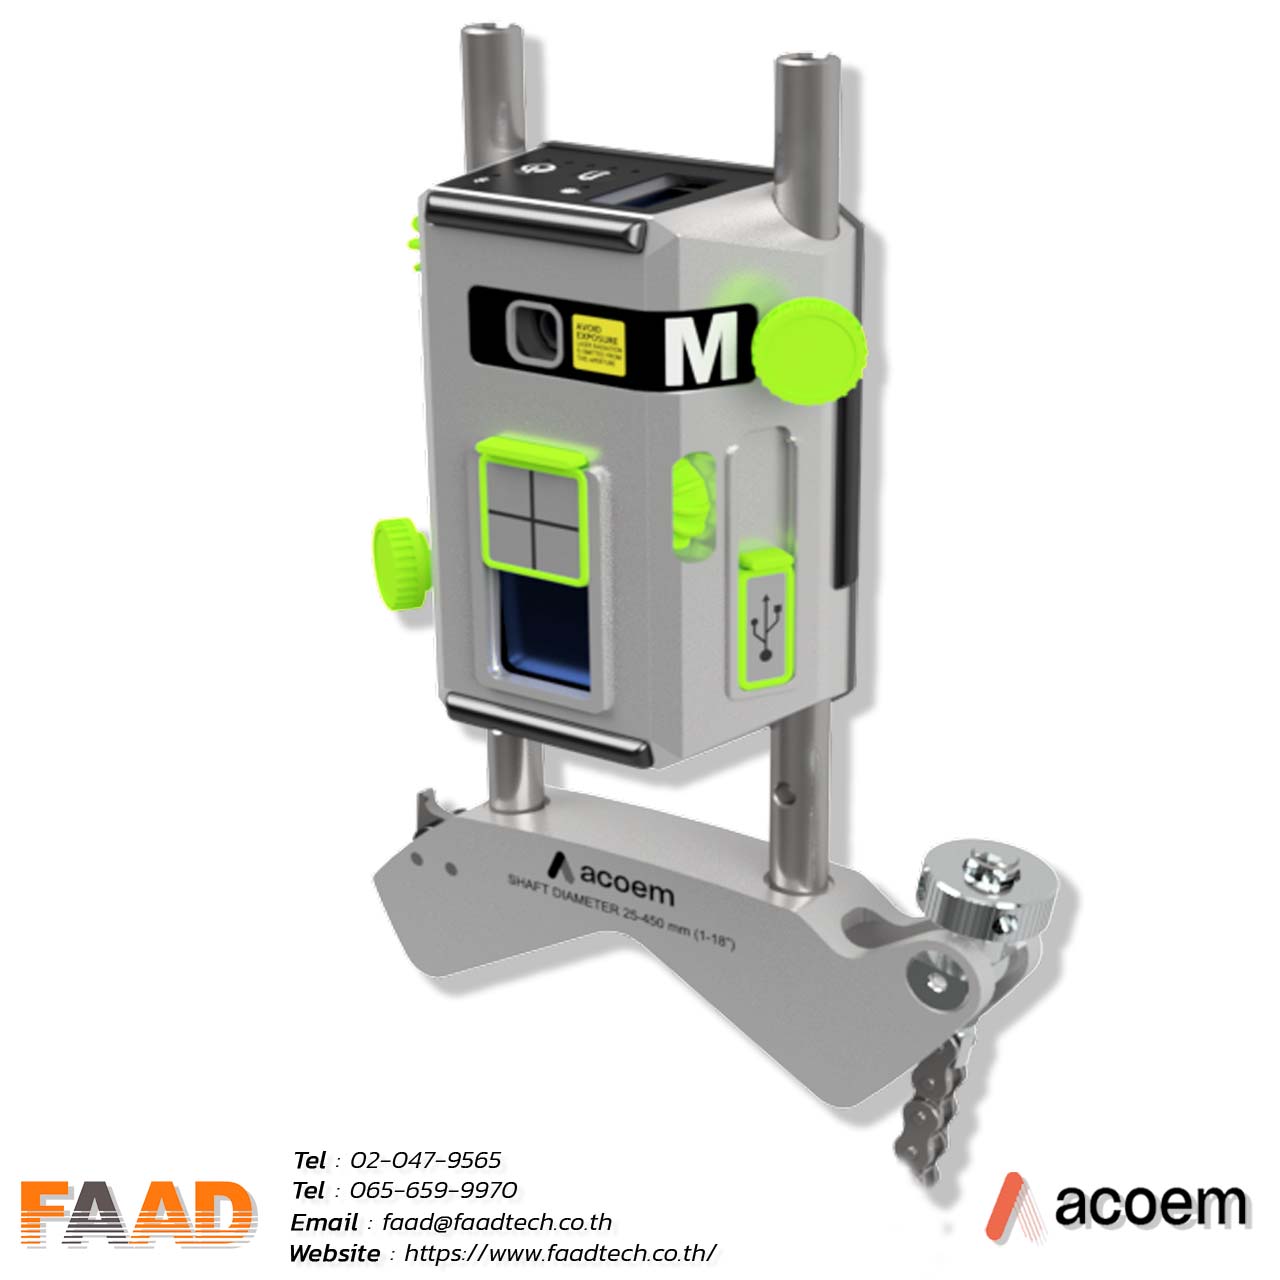
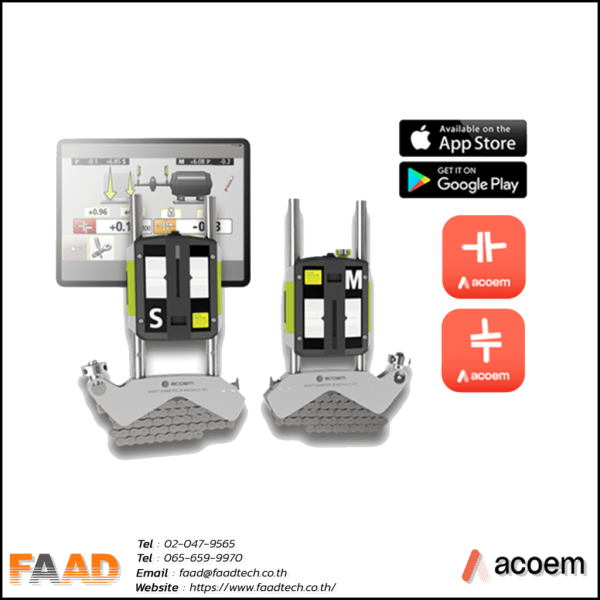
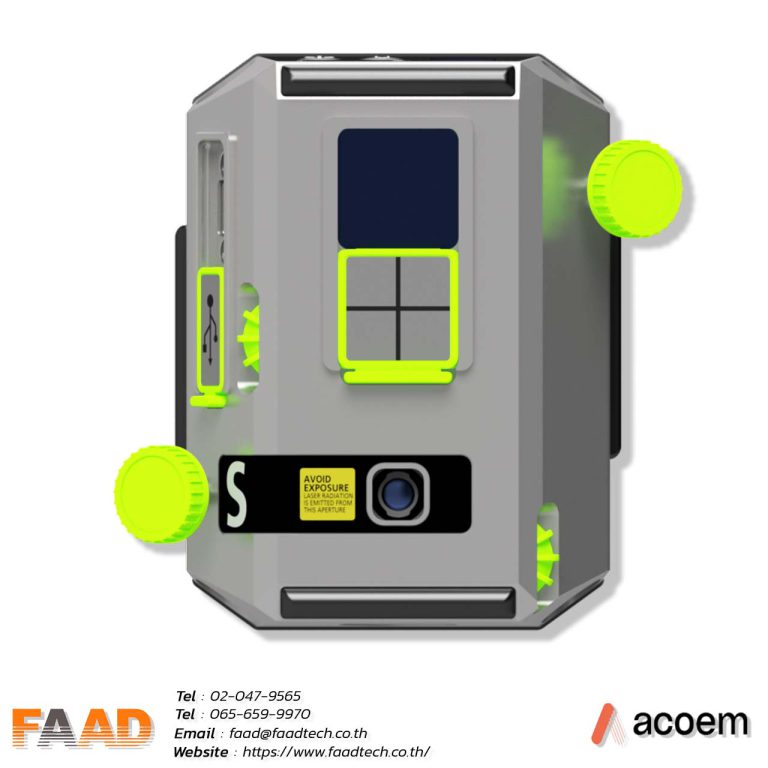
- Introducing the market’s thinnest 2-axis sensor, weighing 306 g. With a 20-meter measurement range, it revolutionizes precision applications with its compact design and exceptional accuracy.
The large detector features a 20×20 mm2 size and offers a high-resolution of 0.001 mm, making it ideal for precise position sensing and different measurement applications.
Features
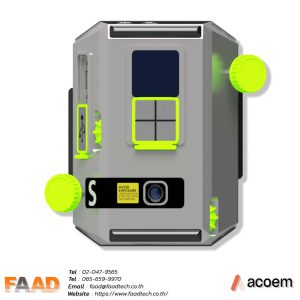
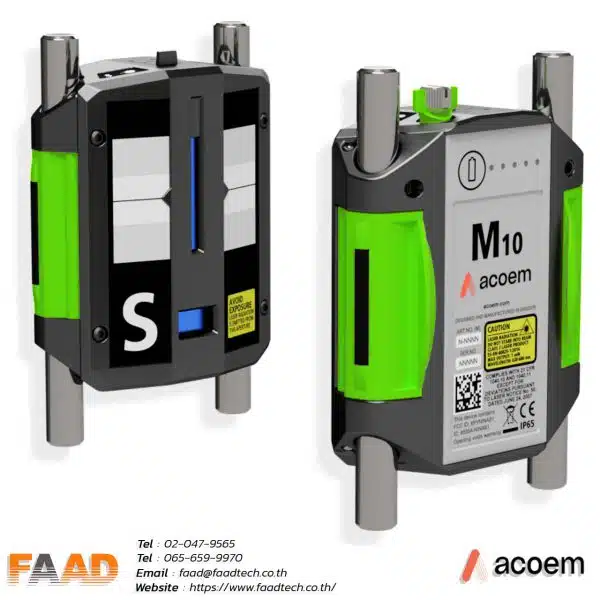
Acoem M9 & S9 sensors excel in measuring both dimensions concurrently, offering comprehensive insights.
Achieve unmatched precision with a 0.001mm resolution, capturing even the smallest variations for analysis.
The thinnest 2-axis sensors at 305g, ensuring easy integration and mobility
Acoem M9 & S9 sensors cover up to 20 meters (65 ft) without compromising accuracy.
Equipped with sliding covers, our sensors ensure product longevity and protection during storage.

Shim Simulator: Achieving Precision Machine Alignment0
The Acoem HSA app’s new Shim Simulator function, powered by our innovative GuideU™ interface, lets you visualize how different shim adjustments affect coupling alignment. This tool helps you fine-tune your machine setup for optimal performance.
Alignment with the Shim Simulator
Feature : Laser Shaft alignment AT 400

SoftCheck™
Easily verify the presence of soft foot with the SoftCheck™ feature to make a reliable alignment
Softfoot : is the state of the machine on all 4 sides are not at the same level caused by the legs or stands that are damaged or worn by use Come to learn more easily from the VDO clip.
Target values
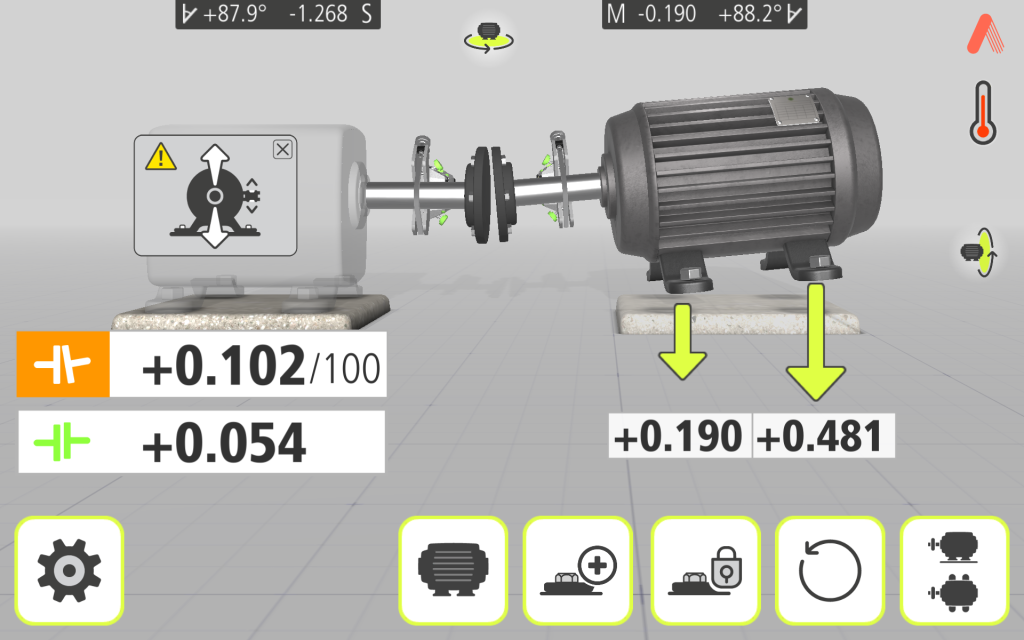
Easily control the temperature of the machine. with cold and hot lines Target values

FeetLock™
Get better automatic guidance for a base-bound or bolt-bound situation with the FeetLock™ function

Spacer Shaft Function
The spacer shaft function is used when the alignment is performed on machinery using membrane coupling.

Multiple Feet
Some machines have more than two pairs of feet. To perform proper alignment in these cases, the Multiple Feet function comes handy

VertiZontal™
Align machines in horizontal and vertical direction in only one move with Acoem VertiZontal™ feature and save time
Measuring methods.

Tripoint™ method
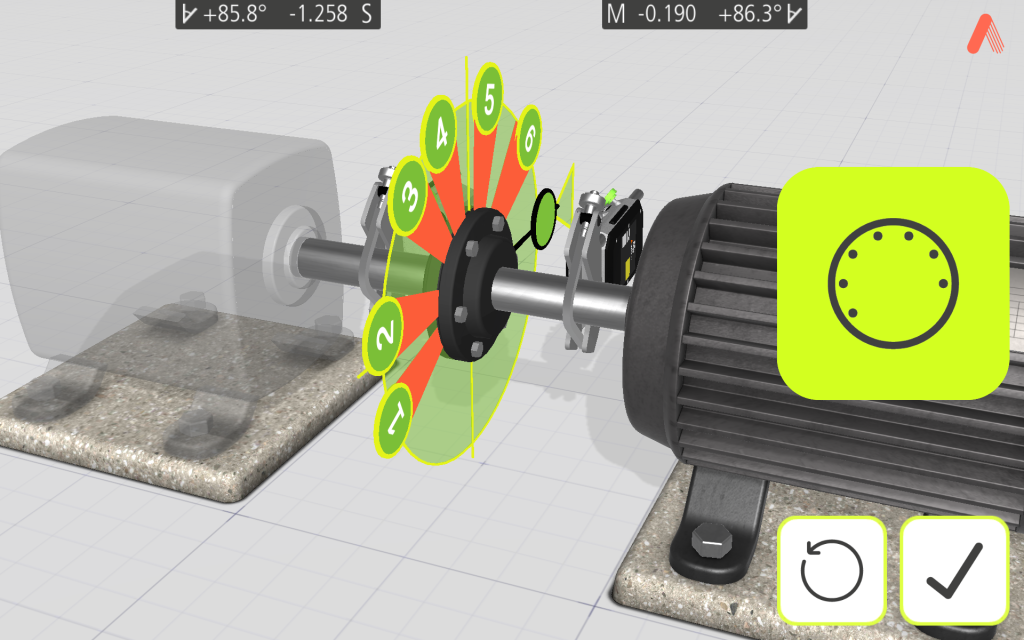
In the Tripoint method, the alignment condition can be calculated by taking three points while rotating the shaft at least 60°. In this method, all points are taken manually.

TRIPOINT Express™ method
This method seamlessly incorporates the Tripoint approach, offering the added advantage of fully automated measurements throughout the process.

Clock™ method
Clock™ In the Clock method, machinery positions are calculated by taking three points with 180° of rotation.

Multipoint method
This function enables measurement initiation from any position on the rotation, allowing recording of multiple points for optimized calculations. Ideal for turbine and sliding bearing applications.

Multipoint Express method
Our method follows the classic Multipoint method approach, but with the advantage of automated measurements for greater convenience.

GuideU™,
Effortlessly navigate through our user-friendly interface, GuideU™, designed to make it a breeze to follow and understand.

True Live™
Get the position of both the shafts in real time with Acoem True Live™ feature

PDF EXPORT
Once the measurement is finished, you can generate a comprehensive PDF report that includes graphs and measurement data, providing detailed documentation of the measurement object.

Camera
Take pictures of your machines and setup to illustrate automatically in the report

Sync
Centralize and share your reports with your team, consolidate your plant’s alignment status, and assign alignment workorders to team members.
Measuring methods for industry leaders
Discover precision like never before with our advanced measuring methods. Engineered to perfection, these techniques redefine accuracy in industrial alignment assessments.
- Dual Sweep Method: Automated alignment evaluation for coupled machines, ensuring precision with every sweep. Take control by stopping data recording manually.
- Dual Sweep Express Method: Effortless efficiency – data recording halts automatically when shaft rotation stops, streamlining the process.
- Dual Multipoint Method: Unparalleled flexibility. Start measurements from any position, ideal for uncoupled shafts and non-rotatable machinery.
- Dual Multipoint Express Method: Convenience meets accuracy. Automated measurements without compromise.
- Tripoint Method: Meticulous precision. Record three manual points during shaft rotation for detailed alignment insights.
- Tripoint Express Method: Seamlessly automated. Experience precision alignment assessment with automated ease.
- Clock Method: Industrial wisdom in action. Three points, 180° rotation – a trusted technique for non-horizontal foundations and standalone shafts.
At ACOEM, we redefine measurements for industry excellence. Elevate your operations with unmatched precision.
Laser Shaft alignment AT-400
Two-axis shaft alignment is typically the best alternative in scenarios where precision alignment in both the horizontal and vertical planes is critical to ensure the optimal performance, reliability, and safety of rotating machinery. Here are some scenarios where two-axis shaft alignment is the preferred choice
- Complex Machinery: Machinery with multiple shafts, couplings, and components that require alignment in both horizontal and vertical directions benefit from two-axis shaft alignment. This includes systems with multiple gearboxes, pumps, or interconnected rotating elements.
- Critical Applications: Industries with critical applications such as aerospace, automotive manufacturing, and medical device production often require the highest level of precision in alignment. Two-axis alignment ensures that the machinery operates with extreme accuracy.
- Heavy Machinery: Large and heavy machinery used in construction, mining, or marine applications often require two-axis alignment to ensure stability and prevent misalignment-related failures.
GuideU™Interface : 3D shaft alignment
Experience GuideU™ – the innovative 3D shaft alignment interface. With patented customization, intuitive icons, and vivid colors, measuring, aligning, and reporting become effortless. Minimize human error and uncertainty in shaft alignment through realistic graphics and animated help screens. GuideU™ Interface represents a groundbreaking leap in 3D shaft alignment technology. Our proprietary and patented graphical user interface redefines precision, simplicity, and accuracy in the alignment process.
Read Our Latest News
News & Articles
- By Admin Faadtech
- Comments are off for this post.
- By Admin Faadtech
- Comments are off for this post.


