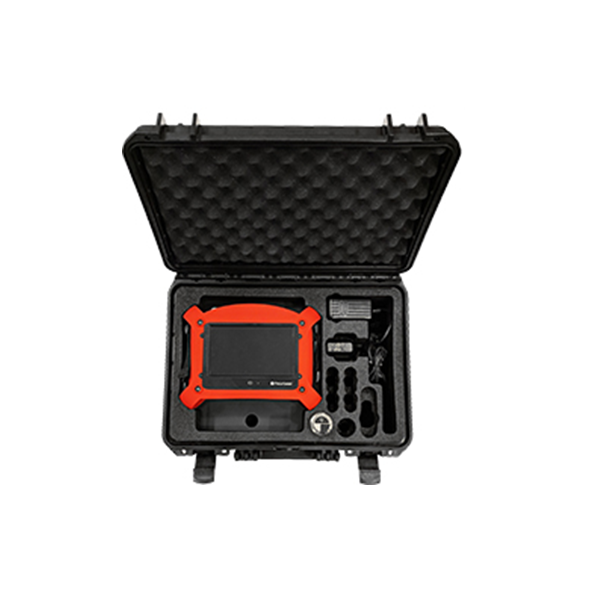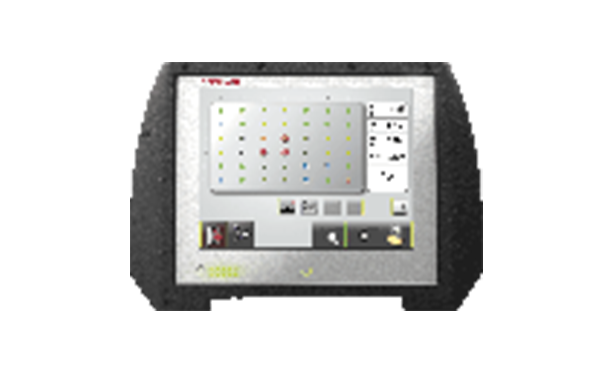
STAY SQUARE WITH THE NXA GEOMETRY
Rectangular Flatness
Typical applications are measurements of e.g. machine beds and machine foundations. For the latter application, it is particularly beneficial to combine flatness measurement with shaft alignment when installing rotating machinery. First, you check the foundation’s surface for possible irregularities, a so-called pre-alignment check. If any, adjust these. Install the machine and check for possible misalignment with a laser-based shaft alignment tool like the NXA Ultimate system.
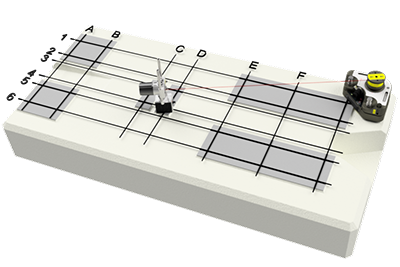
How to do a Rectangular Flatness Measurement
This application uses a laser plane as a reference. The deviation in distance between the laser plane and the measurement object is measured in one or more positions with the use of the receiver. The program allows for up to 150 points (10 x 15) to be measured.
1. Configuration
Quick and easy to configure
Pre-defined configuration
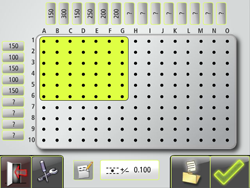
2. Measurement
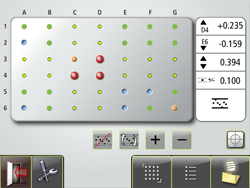
Distinct overall view of the measurement
Instant display of measurement object’s position
Color-coded measurement points
Measurement points can be registered in any order you prefer
3. Adjustment
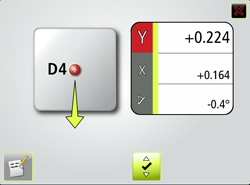
Live values during the adjustment phase
The angle guide displays the accepted (green) measurement point registration area
Green arrows show you in which direction to adjust towards zero
Color-coded measurement values













Read Our Latest News
News & Articles
- By Admin Faadtech
- Comments are off for this post.
- By Admin Faadtech
- Comments are off for this post.


![[HS-AA0310203] – M6 Face Carbide Tipped Spot Face Tool Set [HS-AA0310203] – M6 Face Carbide Tipped Spot Face Tool Set](https://www.faadtech.co.th/wp-content/uploads/2024/07/HS-AA031-600x600.jpg.webp)

![[ASH456] – HIGH TEMP ACCELEROMETER [ASH456] – HIGH TEMP ACCELEROMETER](https://www.faadtech.co.th/wp-content/uploads/2024/07/dASH456-2-600x600.jpg.webp)


![Multipurpose 2 Rail Magnet Mounting Base [MH214-3A] CTC Multipurpose 2 Rail Magnet Mounting Base [MH214-3A] CTC](https://www.faadtech.co.th/wp-content/uploads/2024/06/MH214-3A-3-600x600.jpg.webp)


